How to Access 192.168.10.1 Login for WiFi Repeater Admin Setup?
192.168.10.1 login is the default IP address mainly used to log in and configures the wireless repeater. It operates in the same way as the other devices for the configuration. By using the http//192.168.10.1 login web address, the user can easily control and manage the WiFi repeater admin setup page.
Through this, you can connect to the setup page of the wireless repeater on your computer or laptop during the configuration of your device for the first time. If you are looking for the guidelines for the 192.168.10.1 setup for your repeater, then scroll down till the end and check out the steps carefully to avoid errors. Let’s go ahead.
Instructions for WiFi Repeater Admin Setup via 192.168.10.1 Login
look at the below steps for the WiFi repeater admin setup by using the 192.168.10.1 Login web page:
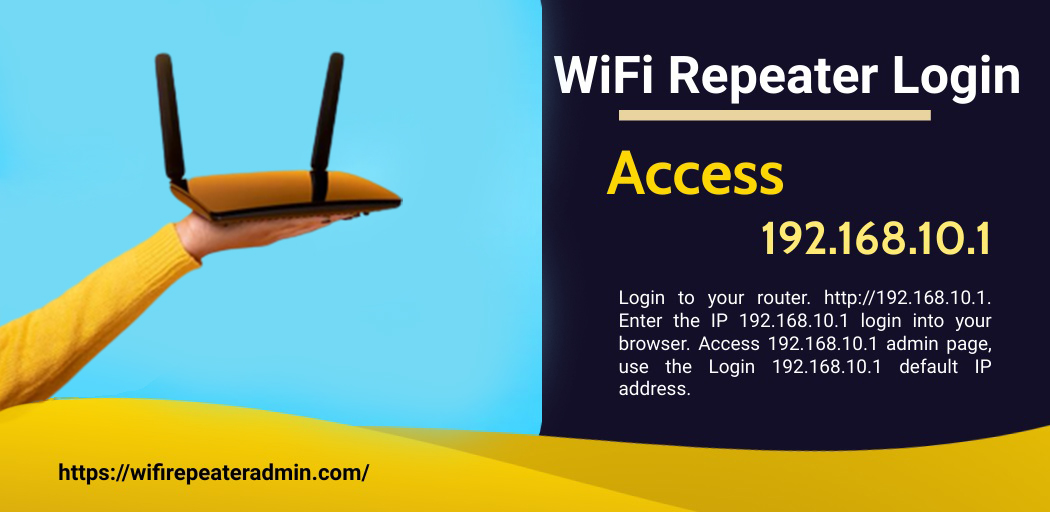
Step 1: The first step that you need to do is launch the internet browser of your choice from your system. Enter the IP address 192.168.10.1 Login in the address bar of the internet browser.
Step 2: It will be redirected to the WiFi repeater web page.
Step 3: Next, you will see the WiFi repeater login window that prompts you to enter the default username and password of the router. Make sure to enter the correct username and password of your wireless router. Tap on the login button. Once you enter the right details, you can make the essential changes to your device settings.
Step 4: Now, check and ensure you have placed the router in the correct place. It should be free from any kind of interference that compromise the router’s signals. Connect your repeater to your computer. You can also use the Ethernet cable directly to your computer from the repeater.
Step 5: Once you place your router at an appropriate place, plug the repeater into the power socket. Ensure that you have placed your device within the range of the existing WiFi coverage.
Step 6: When you are connected, open the LAN properties on your computer.
Step 7: Enter the 192.168.10.1 Login in the given space. You can also enter the common number strings of the subnet mask as the default gateway.
Step 8: Open the web browser and enter the web address in the URL bar. Enter the correct login credential details and tap on the login button. It will redirect you to the setup wizard.
Step 9: Choose the Wireless Repeater Mode and tap on the “Repeater- Onekey settings.” Thereafter, select the wireless network selection button and then the “Refresh List” option.
Step 10: In the next step, choose the wireless network of your router to connect it to the wireless repeater. Tap on the Next button to proceed further.
Step 11: Login with the WiFi network login credential details when your system prompts. Thereafter, click on the Apply button and restart your device. Tap on the “OK” button.
Step 12: Finally, the WiFi repeater admin setup process is completed successfully. It will help you to search for a better range of wireless networks.
Hopefully, this blog will be helpful in the WiFi repeater admin setup through the 192.168.10.1 Login web page. Once you set up your repeater, you can enjoy high-speed wireless connectivity in all the areas, even in the dead zones.